
Low-Fat White Cake with Strawberries and Cream
(Taken largely from Sarah White)
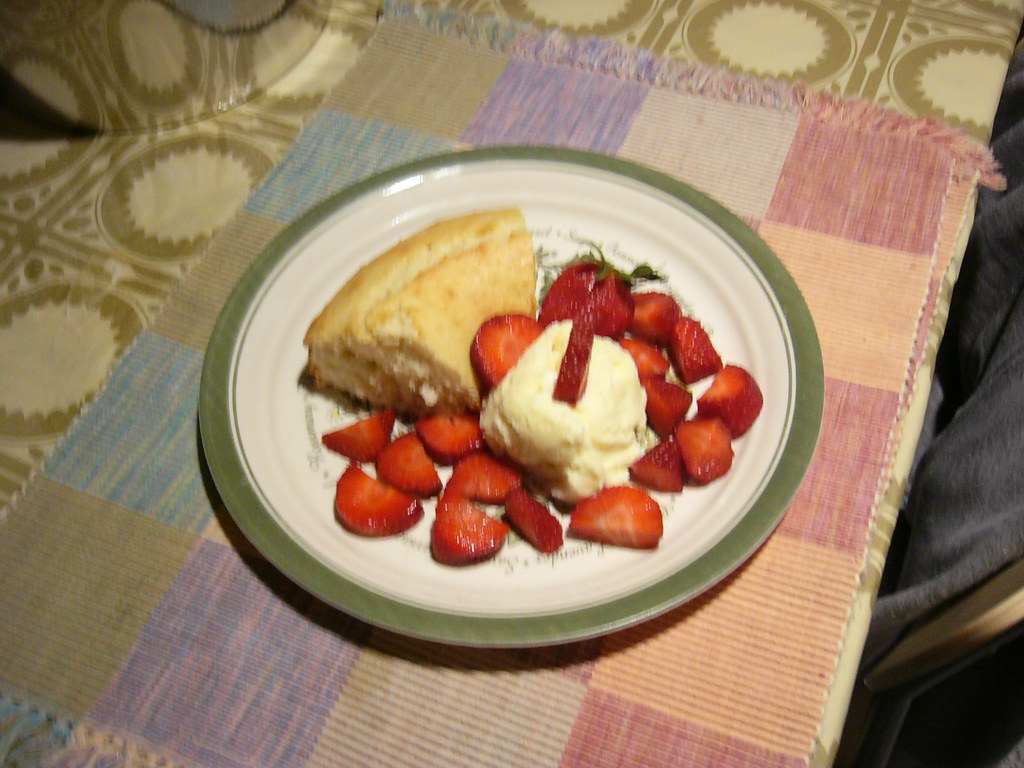
Found this recipe while searching for a recipe for a healthier, low-fat cake that would go well with the fresh strawberries and vanilla ice-cream in the fridge. The white cake turned out great, with a very slightly browned and crispy exterior and a light spongy interior.
Ingredients:
2 cups cake flour, not self-rising (spoon into measuring cup and level top)
2 teaspoons baking powder
1/8 teaspoon salt
4 tablespoons (1/2 stick) unsalted butter, at room temperature
2/3 to 1 cup sugar (we're happy with 4/5 cup)
1 cup milk
1 large egg
2 tablespoons instant nonfat dry milk powder (do not reconstitute)
1-2 teaspoons vanilla extract
1/4 teaspoon almond extract (optional)
Method:
1. Position a rack in the center of the oven and preheat to 300/350 degrees F. Lightly spray an 8-inch round nonstick cake pan with oil.
2. In a medium bowl, whisk the flour, baking powder and salt until well combined. Set aside.
3. In a medium bowl, using a hand-held electric mixer (stand mixer is too big) set at high speed, beat the butter and sugar until the mixture resembles coarse bread crumbs, scraping down the sides of the bowl with a rubber spatula, about 1-1/2 minutes. (Note: The mixture will be coarse and sandy; not light and fluffy because you are using very little butter.)
4. In a small bowl, beat the milk, egg, instant dry milk powder, vanilla and almond extract, if using it, to combine. Pour into the butter / sugar mixture. Starting on low speed and increasing to high, beat until the mixture is frothy, about 1 minute.
5. Make a well in the center of the dry ingredients and pour in the milk mixture. Using a wooden spoon (do not use a mixer), stir until the flour disappears. Using an electric mixer on high speed, beat just for 3 seconds. Do not overmix. Using a gentle touch, spread the batter evenly in the prepared pan.
6. Bake until the top of the cake springs back when pressed gently in the center and the sides are pulling away from the pan, about 30 minutes (do not open the oven until the cake has baked for at least 20 minutes). Do not overbake. Cool in the pan on a wire cake rack for 10 minutes. Unmold onto the rack, turn right side up, and cool completely.
Enjoy this low-fat angelfood cake-like dessert!

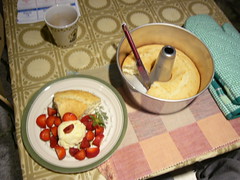
Found this recipe while searching for a recipe for a healthier, low-fat cake that would go well with the fresh strawberries and vanilla ice-cream in the fridge. The white cake turned out great, with a very slightly browned and crispy exterior and a light spongy interior.

An angel food cake pan (like that shown above) is great for ensuring a more even baking throughout the cake
Ingredients:
2 cups cake flour, not self-rising (spoon into measuring cup and level top)
2 teaspoons baking powder
1/8 teaspoon salt
4 tablespoons (1/2 stick) unsalted butter, at room temperature
2/3 to 1 cup sugar (we're happy with 4/5 cup)
1 cup milk
1 large egg
2 tablespoons instant nonfat dry milk powder (do not reconstitute)
1-2 teaspoons vanilla extract
1/4 teaspoon almond extract (optional)
Method:
1. Position a rack in the center of the oven and preheat to 300/350 degrees F. Lightly spray an 8-inch round nonstick cake pan with oil.
2. In a medium bowl, whisk the flour, baking powder and salt until well combined. Set aside.
3. In a medium bowl, using a hand-held electric mixer (stand mixer is too big) set at high speed, beat the butter and sugar until the mixture resembles coarse bread crumbs, scraping down the sides of the bowl with a rubber spatula, about 1-1/2 minutes. (Note: The mixture will be coarse and sandy; not light and fluffy because you are using very little butter.)
4. In a small bowl, beat the milk, egg, instant dry milk powder, vanilla and almond extract, if using it, to combine. Pour into the butter / sugar mixture. Starting on low speed and increasing to high, beat until the mixture is frothy, about 1 minute.
5. Make a well in the center of the dry ingredients and pour in the milk mixture. Using a wooden spoon (do not use a mixer), stir until the flour disappears. Using an electric mixer on high speed, beat just for 3 seconds. Do not overmix. Using a gentle touch, spread the batter evenly in the prepared pan.
6. Bake until the top of the cake springs back when pressed gently in the center and the sides are pulling away from the pan, about 30 minutes (do not open the oven until the cake has baked for at least 20 minutes). Do not overbake. Cool in the pan on a wire cake rack for 10 minutes. Unmold onto the rack, turn right side up, and cool completely.
Enjoy this low-fat angelfood cake-like dessert!
posted by E Loy | 3/27/2005 08:30:00 PM
|
0 comments
![]()